Showing posts with label wedding. Show all posts

Jul 16, 2013

Anniversary date photo frame {DIY}

Hiya everyone! I hope you're doing well! Thanks for all your feedback on my two rugs both here on the blog and on my Facebook page. I just can't part with either one, so they're both sticking around for now, although I'm still not 100% sure how they'll be used. Stay tuned as I play musical rug around my house. :)

I'm here today to show you some DIY art I made to celebrate my three-year anniversary to the hubs, which was back in June. As I wrote about before, I like finding ways to display wedding mementos and photos without being too mushy. And I'm a true believer that what you put in your home should be meaningful above all else.


This is our anniversary date! I didn't come up with this idea -- you'll see it around Pinterest and the web, and there are places where you can buy the numbers you need. But I wanted to find a cheap way to make this art, and I also enjoyed taking the photos myself.

I actually started on this way back on our first anniversary trip to Quebec. I love taking photos of interesting doors and when I came home I saw I had two of the three numbers I'd need for our anniversary date. So I explored my hometown's downtown and had a lot of fun snapping photos of numbers on buildings and businesses, including the last number I needed.

I did just a little editing in Picasa to crop them and make them black-and-white.


Then I printed them through mpix.com. I bought the frame for 40% off at Michaels.


I'm not sure where this will live permanently, but for now it's hanging out on the console table in our dining room. I think it looks really cool! I love the variation of the types of numbers. Plus it means we have no excuse for ever forgetting our anniversary :)

 
I also thought it was a great gift idea for a good friend of mine who recently got married, using a frame I found at Kohl's. I hope it finds a nice place in her new home with her new hubby!


Linking up!

My Uncommon Slice of Suburbia

HookingupwithHoH


The Shabby Nest

Chic on a Shoestring Decorating

Jul 13, 2011

A garden arbor and mason jar lanterns


I've got weddings on the brain lately -- we just went to one this past weekend (and it was fabulous!). Actually, this blog is really all because I had so much fun planning our wedding, DIYing decorations and talking with other brides (both in person and on theknot.com) that when it was over, I really missed being creative and sharing ideas with other people just as passionate as I am. I love being part of such a fun and creative group of shelter bloggers, swapping ideas and tips and encouraging each other!

Our wedding was over a year ago now, but it's nice to have a few reminders of that day around, like the wedding shadowbox I made.


We got married under a birch arbor the hubs made himself. I showed him some pictures of arbors I liked, and we talked about how big we wanted it. He cut the birch from his parents' property and used screws to hold it together. But the pieces came apart more or less easily for transporting.


I love that we can have it as a keepsake.


Photo by Clare Norton

It's got a place now in our backyard.


Next year, I plan to add some flowers around it, including some vines that will climb up and up. And maybe I'll add a little bird bath.

But for now, I used something I had on hand -- a couple pots of annuals and my mason jar lanterns. They make a pretty cute addition, don't you think?


There were supposed to be five jars, but I broke one. I actually put that L.L.Bean picnic blanket that usually hangs out on the porch underneath to try and break the fall in case another jar took a tumble. But then I thought it looked like a cute little picnic setting, so I left it.

I bought most of those jars from a flea market vendor, and I use them around the house as lanterns and seashell holders. I originally had more than 70, but I sold all but about a dozen of them.

Photo by Clare Norton

They just look so pretty with only a few rocks and a candle.


I hung them with some fishing line -- and I also got eaten alive by mosquitoes the whole time. Just picture me on a step stool on uneven ground, trying to hold a jar and tie two pieces of invisible fishing line at the same time, while flinging my ponytail around to keep the mosquitoes away from my face. I'm pretty sure my neighbors think I'm totally nuts.


But the end results were worth it!


I wouldn't leave these up all the time, since the jars would fill with rain and may blow around too much in stormy weather. But if I lived in Cali or some other place with picture-perfect summer weather, I most definitely would.


I had everything I needed on hand for this garden addition, so it was free. But even if you wanted to recreate it, it wouldn't cost you much, as long as you had access to some free birch and were handy with a saw and a screwdriver (or have a partner who is!). Mason jars are readily available at flea markets or even Goodwill for only a couple bucks each, rocks are pretty cheap at Target or a craft store (or even free if you have a place to collect them) and everyone has votives lying around.

Our backyard looks like a romantic secret garden with the addition of the arbor and the lanterns. I love it!


Linking up!


Photobucket


UndertheTableandDreaming


Jun 12, 2011

One year down...


                One year ago today...


Hard to believe it's already been a year!


Our wedding was so much fun, but it doesn't compare to all the fun we've had over the past year, and all the fun we'll have in the years to come.


Here's to many more!


All photos except the last one by Clare Norton.

May 12, 2011

We're so vain: Displaying wedding photos


The hubs and I love to look at ourselves. A lot. Okay, not really, but I do love looking at our wedding photos, even 11 months (to the day!) later. When we first moved into the house, we felt weird about putting wedding photos up -- like it was vain. But heck, we spent all that money on the day and while I'm not going to bust out the "best day of my life" cliche, it was a pretty darn good time. Plus, our photographer Clare Norton took absolutely fantabulous photos that really go to waste just sitting on my hard drive.

I know some people probably feel that wedding photos are best left to a bedroom or another private area, and I totally get that. But I love having the photos around as reminders, and I like looking at other people's wedding photos when I visit them.

It still took us a little while to figure out how to display the photos. A blank wall next to the front door ended up being the perfect spot for a three-photo vertical frame we got as a wedding present. I opted to pick three photos that were more natural looking, not too posed and not just close-ups. You know, so people wouldn't feel overloaded by smiling happy wedding people. They're on the right in the photo below.


I also keep a photo on my bureau, in a Lenox True Love 5 x 7 frame. A cute story: We registered for and received a couple of these in 8 x 10. The hubs went out about bought the 5 x7 one and had it engraved with our names and wedding date as a surprise to me. He then put it back in its box and "hid" it in a big box with the other frames we got as wedding presents (but hadn't opened yet). I decided to do some unpacking and started opening all the frame boxes, and found one that had been engraved. 

Thinking a guest had done it, I felt super bad that we'd written someone a thank-you note and failed to mention the engraving. When I told hubby about it, he said HE actually did it. Woops. But it was still a very sweet surprise. The frame is reflective so it's hard to see the engraving, but it's on the top and bottom.


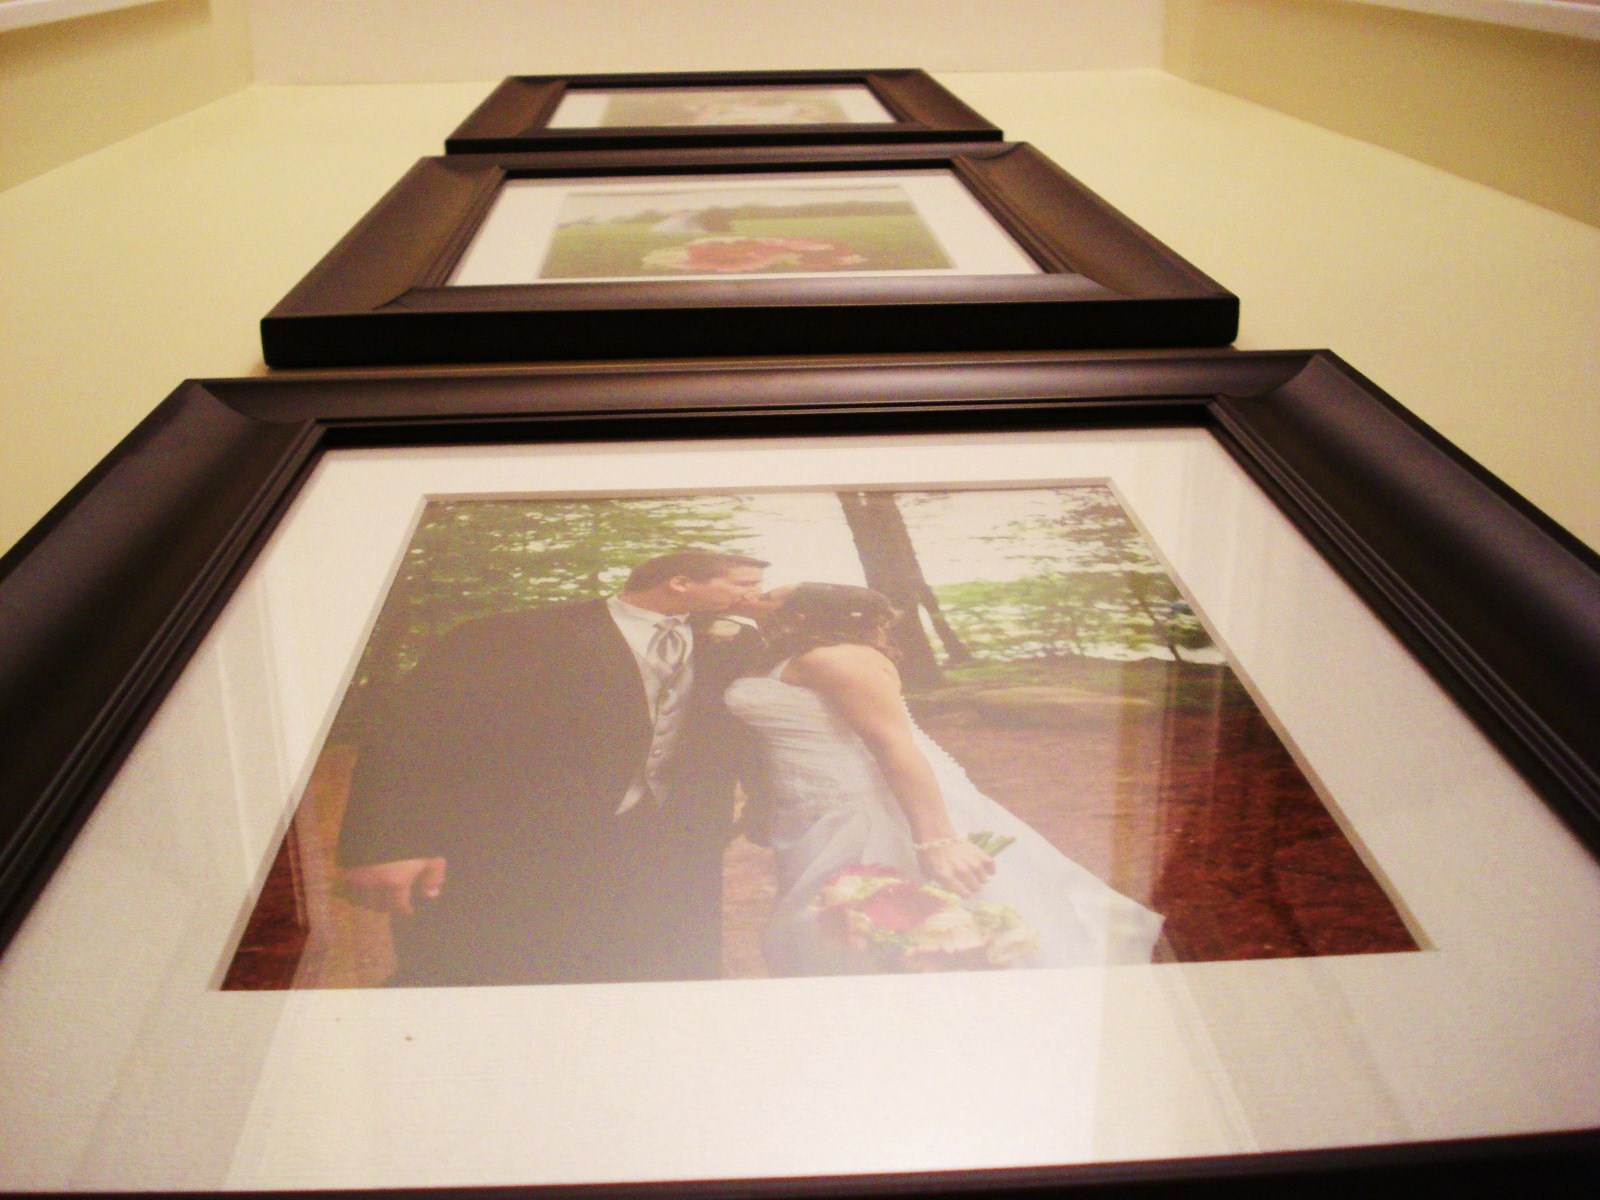
But this still wasn't enough wedding for me (crazy!). So, when I saw F & S's gorgeous wedding photo display at Our Little Beehive, I knew I wanted to do something similar in our empty upstairs hallway. I bought three frames at Michaels for 40% off and printed off three of my favorite photos using Shutterfly.

To hang the photos, I used my tried-and-true paper template method. I started by placing the one in the middle. It looked weird to center it vertically, so I just kind of eye-balled how high I thought looked natural (a little below eye level). Then, I put up the templates for the other two frames, focusing on keeping the spacing even between the frames. Sorry, no photos of the process, but it's pretty similar to how I made my map wall and gallery wall.

I got out my hammer, level, tape measure and picture hangers and got to work. Starting with the middle frame, I measured to make sure it would be centered horizontally. Once I got that one up and level, I used it as a guide to measure where the hooks for the bottom one should be, then the top one. I was ridiculously proud of myself for getting all three frames even and level without even making one errant hole in the wall!


(Is it wrong that all the wedding photos we display are just of the two of us -- no family, no guests?? Maybe we really are vain...)

I picked three photos that I thought had similar coloring; each one had lots of vivid green, which really makes me feel cheerful. Again, I avoided the posed formals and went with more natural ones to keep the arrangement from being too formal.


This wall is the end of our upstairs hallway and directly across from our bedroom door, so we get to look at these photos every time we leave the bedroom. Love it! We saved the bigger photos for a more private area of the house; we're the only two who regularly go upstairs, so it's mostly for us.

But once it was up, the hubs (who was really hesitant about putting big wedding photos up) said it looked so good we should move it to the living room so everyone can see it. But after all that successful measuring and nailing, I wasn't about to take it all down and press my luck by trying to do it again. Also, we don't have the paint for the upstairs hallway, so no way to patch the holes I made without repainting the whole thing. And I'm all set with painting for a while after our double-round in the office.

Speaking of the office, we did go buy our desk. But after the hubs spent two hours assembling it (and didn't even finish!), we encountered this:


If it were in the back or underneath, we may have overlooked it. But this is front and center. Luckily, the manufacturer, Sauder, has a five-year warranty and lets you order replacement parts online. In less than five minutes, I ordered a replacement top that should be delivered right to our house in just a few days. Between that and our purple paint mishap, I guess we should just assume this office makeover is cursed.

But going back to photos -- I do plan on turning the whole upstairs hallway into a family photo gallery, putting up photos, both current and old, of our families. And I'm still planning to do photo ledges in the dining room and would love to showcase more photos of our family and friends, not just the two of us. That redeems our wedding photo vanity, right?? :)