Showing posts with label holiday. Show all posts

Apr 1, 2013

Yarn and twine eggs for spring {DIY}

Hi all! I hope you had a great Easter. We had a low-key day because we've got a recuperating pup on our hands. Our poor little guy had surgery on his knee last week. He's been limping on and off for months and other treatments weren't working.

Finally the vet said surgery was the only way to keep him from completely tearing his ligament and losing the ability to use the leg at all. Now he's got a bionic leg with a metal plate and six screws! (If you're curious, the surgery he had is called a TPLO surgery.)

I do not like the cone of shame

He's got six weeks of being cooped up, and then another six weeks of getting his full mobility back. It's going to be a loooong April. But in the end he'll be able to run and play like a normal dog without any more limping or threat of tearing his knee ligament. I can't wait for that day!

Since he's still recovering from the surgery and is in pain and getting used to staying in the pen (and to the cone of shame), we decided to stay home this weekend and keep an eye on him.

So, I took the opportunity of a weekend at home to do some crafts. I have to admit, I hadn't done any Easter or spring crafts -- in Maine, it doesn't feel much like spring in March, and in fact we still have some snow piles that need to melt. So I wasn't really feeling inspired.

But then I found in my craft stash some plastic eggs I bought last year from Target and never did anything with.


I whipped out the hot glue gun, some jute twine and some yarn and got to work. I simply started at the top and worked my way down, gluing as needed.


I did the twine eggs first, and then decided to try yarn. I kind of wish I had done them all in yarn -- I love the pops of color! I'm feeling the need for color these days.


I would say the yarn was harder to use than the jute. The jute was more forgiving if I didn't quite line things up or got a little too much glue under there. The yarn was pretty thin, so there are a couple itty bitty gaps where the egg color peeks through, especially on the bottom. But I'm not going to stare that closely at them.


Greens, blues and neutrals are like my favorite combo.

And while Easter is now over, I think these eggs make great spring decor and can last through April and May.


I've got some other spring touches in the works, so stay tuned!

Feb 6, 2012

Valentine's Day decor, part two


Hey all, and happy Monday! Hope you had a great weekend. Mine ended on a sad note because a certain team couldn't manage to win a certain game...but let's not talk about it! :)

On Friday I showed you my Valentine's Day vignette on the floating shelves in the living room.

I also gave our gallery wall in our kitchen a little V-day love. I think my favorite part about a gallery wall is that you can change it on a whim and give it a new look in just a few minutes.

The hubs walked by afterward and slowed down to look at it. "This thing is always like a surprise to me," he said. Love it! :)


To bring some love to this wall, I added wedding photos of our parents and this one of my great-grandparents. I love it next to the black-and-white photo of us.


My in-laws. And I added a photo of the Eiffel Tower, because what's more romantic than Paris?


My parents on the left and a photo of us from our engagement shoot, each matted with some cardstock.

I also added these love quotations that I printed out for our wedding, but never used. Of course I kept them just in case I'd want to use them for something else...and look, I did!


I framed some of those cutie crocheted hearts I showed you last week on some cardstock.


This big puffy LOVE is from Target last year. You might recognize it from last year's vignette on the floating shelves. I love reusing items, especially holiday-themed ones, so I don't have to keep buying decor items that only get put out for a couple weeks out of the year.


What's this, another LOVE sign? Yep! I made it using a piece of oak, some stain, painters' tape and white paint. I'll show you more on it later. I still gotta paint that edge white, but I was too excited about it not to get it up and show you.


A couple more photos!


Feb 2, 2012

Valentine's Day decor, part one


Woohoo, it's Friday! I'm pumped for this weekend -- got a couple projects I hope to finish up, and I can't wait to watch the Patriots beat the Giants in the Super Bowl...go Pats!

My floating shelves are a faux mantel where I like to feature seasonal or holiday decor, so of course I had to pink it out for Valentine's Day.


I did this while the hubs was occupied with something else, and though I doubt it's really his cup of tea, he was very sweet and said he liked my "pink poufy things."

Me: "It looks pretty girly up there right now, doesn't it?"
Hubs: "Uh, yes, yes it does."

He's so nice to put up with me!

This display started with some inspiration from Martha Stewart Living.


I have a ton of paper flowers I made for our wedding (and never used!) plus some I made for a friend's bridal shower. And like the pack rat I am, I've held onto them, thinking they'd come in handy...I love being right :)

To arrange them in a heart shape, I used the top of a Kohl's shirt box and cut out a cardboard heart, drawing an outline in pen before cutting, and folding it in half to make sure it was symmetrical.


My paper flowers were all held together with floral wire. I poked holes in the cardboard heart with a pen tip and threaded the wire through, holding it in place with a piece of tape.


It's not quite as fluffy as I would have liked, but it's very sweet and romantic, don't you think? I like how it looks with my old, flea-market frame.


The pink paper flowers are hanging from white ribbon just stuck to the ceiling with Scotch tape...fancy, huh?


The vases I bought last year from Target, and the aqua insulator is from the flea market, which I included after seeing Myra at My Blessed Life's lovely Valentine's mantle.


These cutie birds were our wedding cake toppers. Aww!


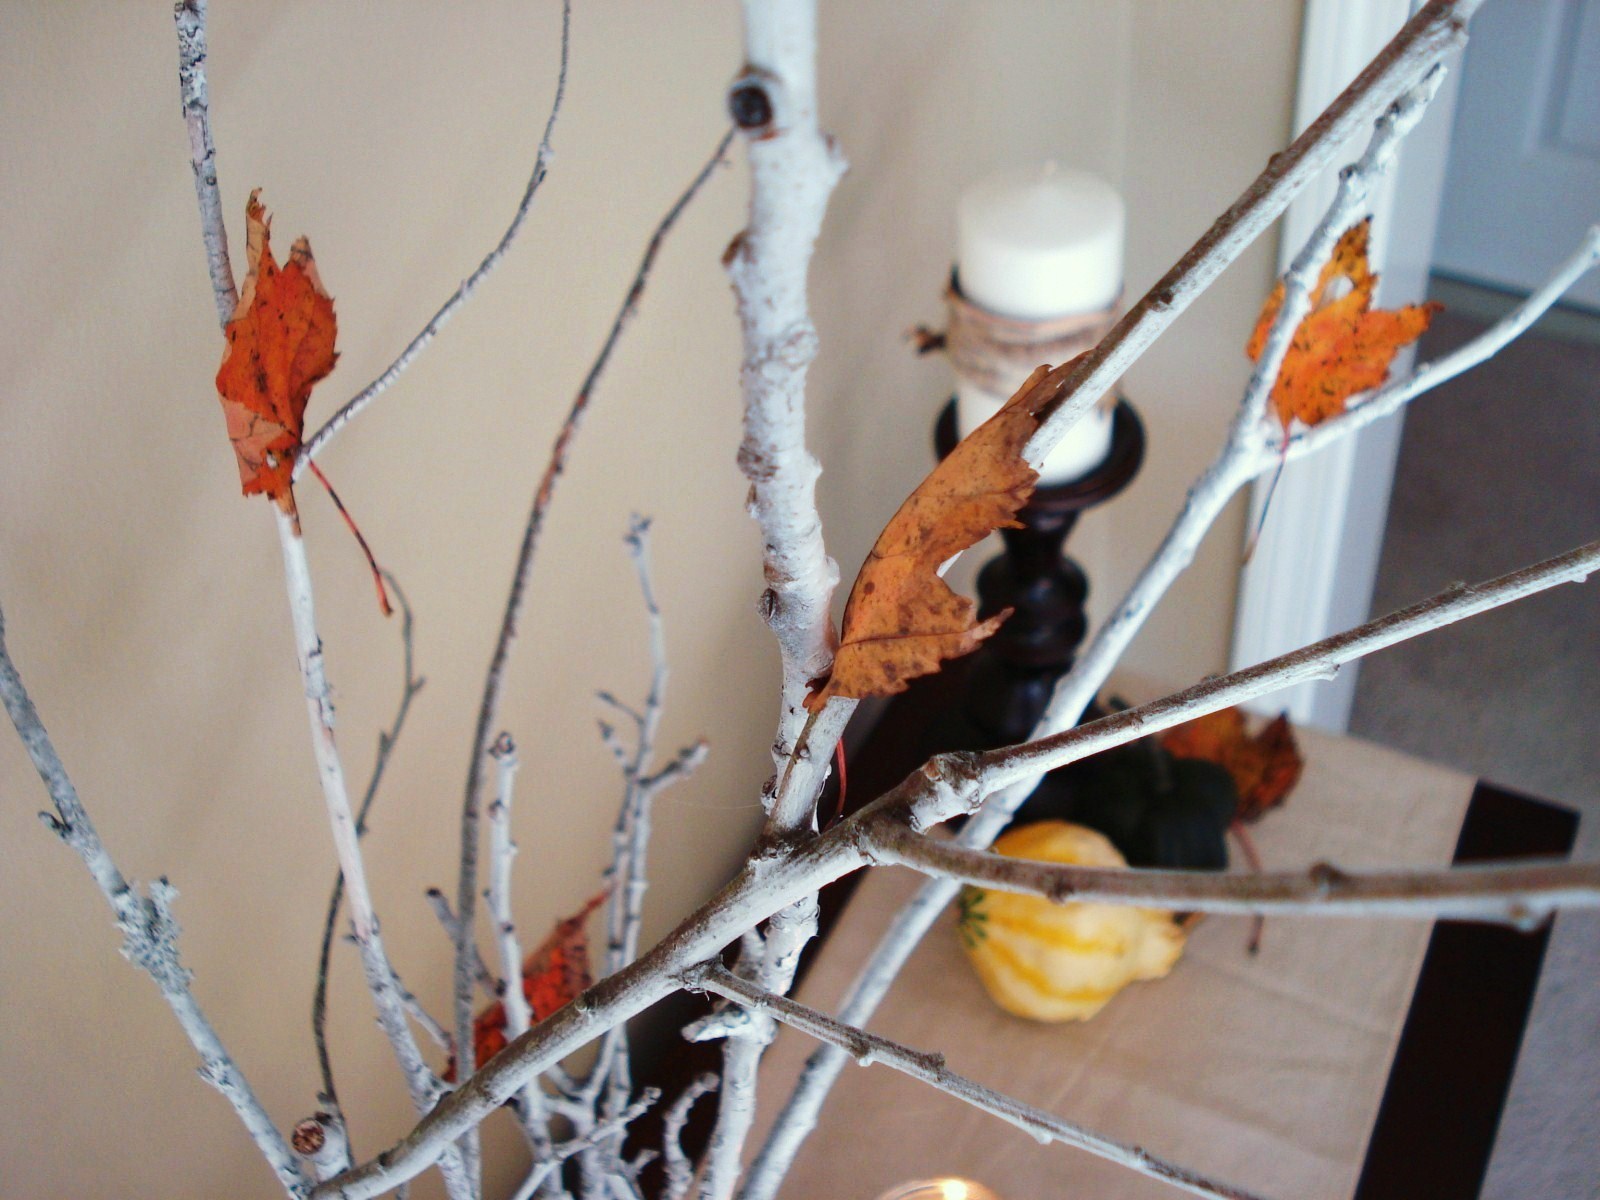
I've been using these white branches a lot -- in my fall decor:


Christmas decor:


And now Valentine's decor. They're holding these little crocheted hearts I made, which are super easy to make if you're a crocheter! The pattern is here.


Aren't they super adorable?! I made a bazillion for no reason :)


And the whole shebang is finished off with some white feathers I bought at Christmastime to make a cute little feather tree, buuut....that never happened. At least they're getting some use now!


My favorite part of this little display? I bought nothing except the dark pink yarn, which was $1 at the Dollar Tree.

I'll be back next week with some more Valentine's Day decor -- hint, hint, it's changes to my gallery wall!

Linking up!


The Shabby Nest


Join  us Saturdays at tatertotsandjello.com for the weekend wrap
up           party!

Chic on a Shoestring Decorating


Jul 6, 2011

Festive strawberries for the Fourth


Happy Wednesday, everyone! I hope your short work week is going by quickly.

So, I spotted these Fourth of July strawberries in the blogosphere, and I just had to make them -- even though by the time I saw them, it was too late to make them for the Fourth.

Coley of What You Make It featured these adorable strawberries last week, and I found them through At the Picket Fence, which posted a link to Coley's blog on their Facebook page (phew! Catch all that?). Luckily, I had everything I needed on hand -- leftover strawberries from my jam- and pie-making adventures, white chocolate chips and blue sprinkles.

I started by giving the strawberries a nice washing and drying...


I mixed white chocolate chips with a little shortening, after seeing a recipe for fruit dip on the chip bag. Then, I gave my strawberries a little dunk and swirl...


And then dipped them in some sugar, using the shot glass method that Coley describes (and yes, those are pink sprinkles...I ran out of blue so I had to switch!). And yep, that shot glass came home with us from our Quebec anniversary trip.


Then, I laid them all out to cool on some wax paper.


Aren't they adorable? Coley is right...if you don't find them cute, there's something wrong with you!

They came into the office with me today. Hopefully my coworkers won't mind eating Fourth of July strawberries two days late -- or that half of them are actually pink. The pink ones actually made me think of how cute these would be for a baby shower. And green sprinkles at Christmas would be perfect!

Thanks to Coley for sharing her idea and giving me something easy and fun to do with all my extra strawberries. :)

Jul 5, 2011

Fourth of July recap and office progress


Hello everyone! I hope you had a fantastic Fourth of July weekend -- we did for sure!

I spent some time at one of my favorite Maine beaches...


...Caught a great Main Street parade...


...Enjoyed some yummy gelato -- that's half peanut butter cup, half mocha s'mores in case y'all are curious :)


...And capped it with some of the hubs' famous chicken wings.

Famous because we love them!

If you're a fan of Heart Maine Home on Facebook, you already know that I went strawberry picking last week. Look at those tasty, juicy berries! Pretty sure I could eat strawberries until I exploded...


This weekend, I turned those strawberries (and some rhubarb) into this...


I'd never made a strawberry-rhubarb pie before, and I thought it came out pretty good!

I also made some jam for the first time. It wasn't very hard. I haven't tasted it yet, so I hope it's edible good.


All in all, a perfect Independence Day weekend!

I have to apologize to you guys -- I haven't been doing much crafting lately. Summer fun has just been too tempting for me! But, I do have an office addition that I've been way overdue in showing you. We finally got our new desk for the office!

We bought it months ago from Staples, and the hubs spent about two hours putting it together before he discovered a giant chip in the top. We decided this office rehab is just cursed, considering our purple-paint fiasco, and now a damaged desk.


Luckily, the company that makes the desk (Sauder) makes it super simple to order replacement parts on their website. I expected the part to come UPS, but instead, I got a call from some trucking company asking to arrange a delivery, since the part was coming via 18-wheeler! A truck that size wouldn't make it out of our little dead-end road, so instead they asked me where in our rural Maine town a truck that size could meet me. The only place I could think of that could accommodate a truck like that? The fire station.

So, one morning I drove to the fire station and met this giant truck just to pick up a new top for our desk. The box was nearly six feet long and more than 50 pounds (thank goodness for the nice truck driver who put it in my car for me!).

Proof that this actually happened...


Excuse the crummy phone photos...

With the new piece in hand, the hubs was able to finish putting the desk together. Et voila!


I know it doesn't look it in this otherwise empty room, but it's biiiig. 


We picked this one because it was in our budget and it had everything we wanted: a keyboard tray...


lots of storage (look! Two whole drawers for filing, and even one is empty!)...


and lots of work space for the hubs while he's paying bills and planning his brewing recipes...

Don't mind the changing computer background...

Now keep in mind that it's still very incomplete...it needs a lamp, some better office accessories on top and a little electronic organization (i.e., ways to hide all those cords, routers, receivers, etc.). But it's definitely an improvement over what we had. Remember that?
And now...


As much as I'd love a cute little office chair, the hubs is all about practicality -- and since this is mainly his work space, I suppose he should get to pick what he sits in. :) 

Finally, our office overhaul is making some very slow progress. We've already painted the walls from pretty pink to moody gray, and now we've got an actual desk. But there's still lots on our list:

  • Accessorize the desk with a much-needed lamp and other necessities (the hubs has already authorized a lamp purchase...yessss!)
  • Refinish that free bookcase we nabbed
  • Switch out the ceiling fan for a snazzy new fixture
  • Take down those roman shades and get some curtains (I'm thinking I'll DIY them)
  • DIY some floating shelves for extra storage
  • Finish with some wall art

The not-fun stuff will be organizing all the papers and stuff that hasn't made it to the desk yet, and cleaning out the crazy-messy closet. Do you blame me for putting this off?

Scary!

Once again, here's a look at my mood board for the office...


This has already evolved since I first put it together, so stay tuned to see what happens! (But don't hold your breath...it might be a while...).

Linking up!