

Hey all! Hope you're doing well! We finally dug ourselves out of the blizzard. Now we get to deal with slush. :)
Today I'm sharing a project that has been on my radar for a while, and took me a loooong time to finish. I think nearly every blog-reader out there has fallen in love with the Nester's striped curtains:

Gorgeous, am I right? I totally wanted striped curtains for my office. But try as I might, I couldn't find striped fabric like this. What's a blogger to do? DIY, of course!
There are a lot of tutorials out there for striped curtains using fabric or even paint. I read a bunch and used them all to tackle my own striped curtains. And I'm sharing how I did it with all of you so you can make your own too!


*Big, giant, gynormous disclaimer -- my sewing skills are very amateur. There will probably be lots in here that will make people with real sewing talent cringe. I'm hoping there are lots of beginners out there who will find this helpful, and for you pros -- humor me :)
Even though I'm not great at sewing, I decided to go the fabric route instead of paint because I wasn't sure how paint would look and how it would hold up. I also decided that the easiest thing for me would be to buy curtain panels and add fabric stripes.
I bought four of these Grayson white curtains from Target in the 95" length.

They have a grommet top that I didn't want to include in my measurements for the stripes, so I measured the length of the curtain from the bottom of the grommet section to the bottom of the curtain. There was a little variation in the length of the curtains, but they were about 90 inches.

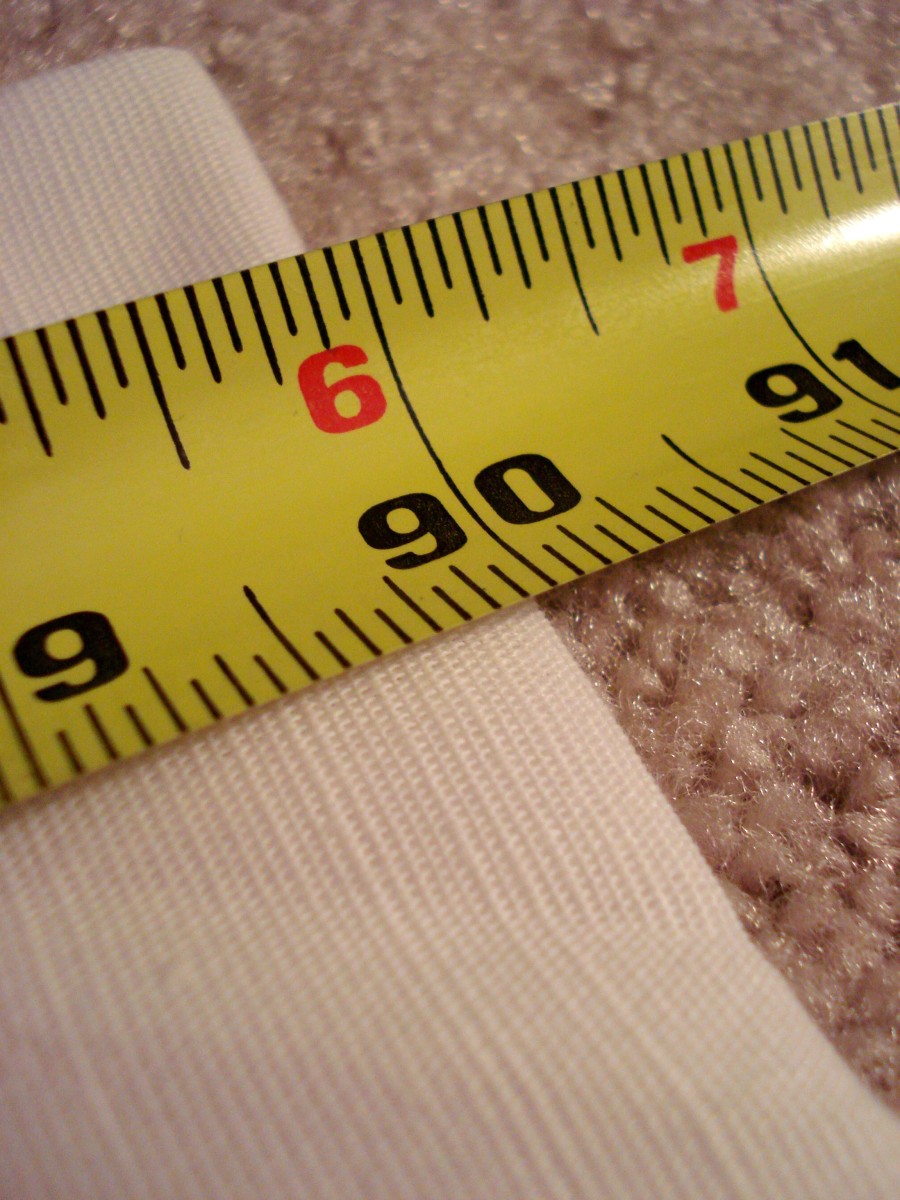
Next, I had to figure out how many stripes I wanted and how big I wanted them to be. I needed to come up with something easily divisible, so all the stripes would be easy. Luckily, I was working with an easy number.
I sketched out a couple options....


Fifteen-inch-wide stripes only gave me three colored stripes, which didn't seem like enough. So I landed on 10" stripes, which gave me five colored stripes and four white stripes, for a total of nine. With four curtains, that was a total of 20 colored stripes. I allowed for an inch of hem for each stripe, so 11" of fabric for each stripe -- equaling 220 inches of fabric needed, or a little more than 6 yards.
Then I ventured off to Jo-Ann to find some fabric. I wanted something not too expensive, something in a material similar to the curtain material, and something a light-aqua color to coordinate with this lamp I have in the office:

I ended up with this Symphony Broadcloth. Luckily it was 45" wide, perfect for me 41"-wide curtains!

I started by measuring out my 10" stripes on my curtains and marking them with a light pencil mark on the back. Like I said earlier, the curtains weren't all exactly 90" long. I started my measuring from the top, so that if my bottom stripe ended up a little bigger than 10" it would be less noticeable.

Then, I measured my colored stripes. I measured 11" so I'd have plenty of room for

Next, I got out my rotary cutter and my quilting grid and got to work cutting my stripes!

After they were cut, I measured the half-inch hems, pinned them and ironed them so they'd lay flat.

Then, I pinned the stripes to my curtains. This seriously took the longest amount of time. I had to make sure each stripe was straight, evenly spaced and smooth, and every little movement of the fabric meant things were shifting around. I used nearly every pin I had to keep these things together!

At this point, I seriously considered skipping the sewing and using iron-on adhesive to sew everything together. But I decided to whip out the sewing machine. Why? Well, I figured if I made a mistake sewing, I could rip out the stitches and try again. But if I messed up with adhesive, well, I'd be out of luck.
So, time to sew! Okay, maybe this part took the longest. I sewed about two-and-a-half curtains before I lost my momentum and took a break for a few

At some point I got sick of my naked windows and the pile of fabric taking up space, I regained my momentum and finally finished sewing on the panels. I used white thread for a little contrast to give the curtains a casual look.
On the bottoms, I wrapped the aqua fabric around the hem of the curtain and folded the corners.

I did pull out the Heat & Bond to finish the edges of the stripes and keep them lying flat on the back of the curtains.

Finally, it was time to hang them -- on curtain rods that we hung high and (a little) wide.
Here's the finished product!

With the light behind them, you can see that my sewing isn't always straight -- but only if you look closely. It's definitely not bothering me, but if it starts to, I can always line them.

I love those code flag posters! They were the initial inspiration for our office redo. They're from etsy seller Empressionista.
My sewing isn't perfect, but I'm totally loving these curtains! They have the nautical look that I was going for and add some color to our gray walls.


There are lots of striped curtains out there, but I'm so happy I jumped on the bandwagon! Even Colby likes them.

What do you think -- are you nuts for striped curtains too? Have you made any? I'd love to see what you did!
Links to other great DIY striped curtains!
A Thoughtful Place
Teal & Lime
The Thrifty Abode
The Yellow Cape Cod
A Spotted Pony
Hodge Podge
A round-up by Apartment Therapy
Linking up!


