
With a house full of walls to fill, I'm always on the lookout for cheap and cute art. When I saw Joi at Nuestra Vida Dulce's fun and modern-looking paint swatch art, I wanted to give it a shot too. I have a ridiculously embarrassing amount of paint swatches, so I was happy to put them to good use.
Joi used uniform squares to make her art, but I decided to try something a little more varied. First, I laid out all my swatches and picked a palette of greens, blues, grays and creams that were all on the cool side. Then, I used my rotary cutter, grid and mat to cut the swatches into various squares and rectangles in one-half-inch increments 2" and less -- e.g., 1" x 1.5", 0.5" x 0.5", 2" x 0.5", etc. -- mostly because that's how my grid is arranged.


I took the insert from an 8" x 10" frame and flipped it over to the white side, then measured in from the sides to make a 5" x 7" rectangle in the center. Then, I just started arranging the squares so they fit into the 5" x 7" rectangle. I didn't really have a process, except I tried not to get two of the same color next to each other, and tried to vary up the order of the sizes (i.e., not get too many smaller squares next to each other).

Once I had it looking like I wanted, I started sticking them to the paper using scrapbooking adhesive. I worked from one side to the other, lining them up as closely as I could to avoid seams. Luckily, the adhesive wasn't so sticky that I was able to peel off squares easily and readjust if I needed to.
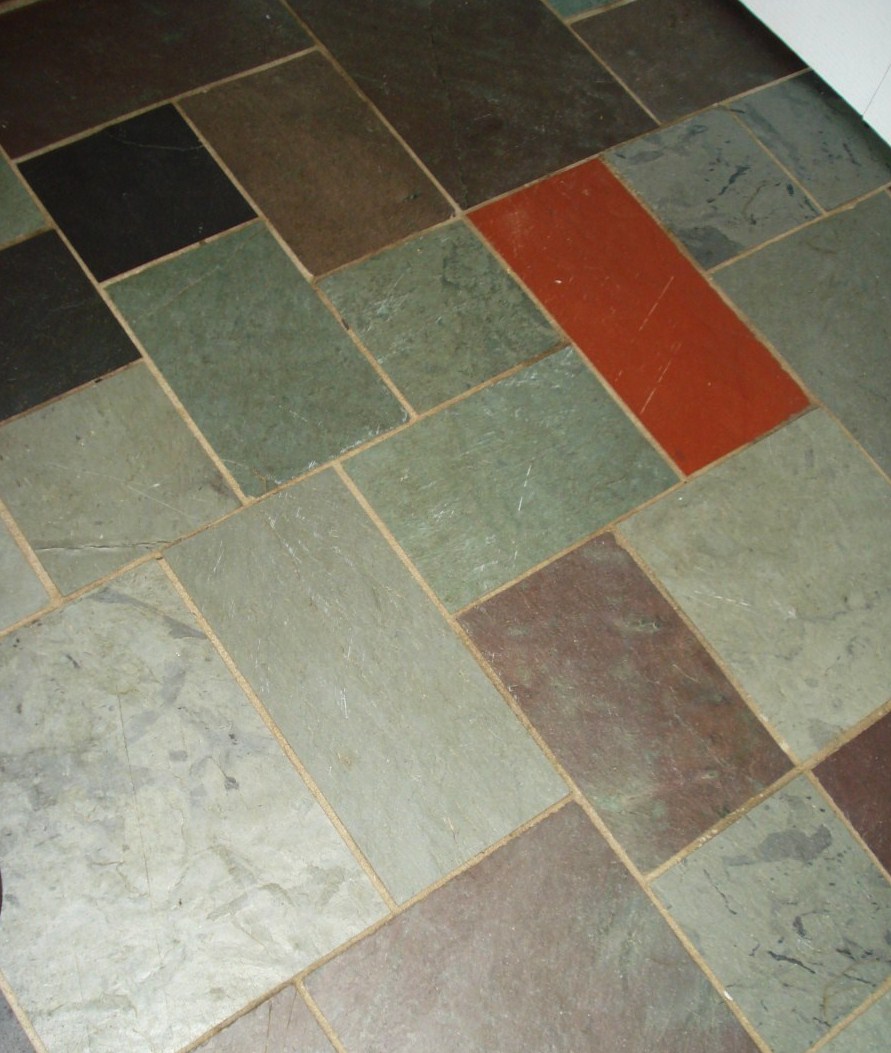
I decided to include one small burnt orange square, to mirror the design of our slate floor in the entryway (which actually has a couple orange tiles, but it's mostly blues and grays). Many of the paint swatches I had were similar in tone to the floor, since we used that as inspiration for our color scheme.
Here it is matted and hung in the kitchen.

If you get up close, you can see a few tiny gaps between the squares -- it was ridiculously hard to get all my edges straight, even with the grid and rotary cutter, and line them up perfectly. I still love the way it looks, though.

All in all, it was a fun project, but it took a lot more time than I anticipated to arrange the layout. I think Joi had the right idea using uniform squares -- that would have taken a lot less time! I think I'll try that next time. I might also try making the squares bigger than I want them and overlapping them to prevent gaps. I still have plenty of swatches left over, so I might make another piece for the living room.
The best part? All it cost was the frame. I bought this one at Target for $12 because I liked the size and the large mat, but you could easily repurpose a frame you already own or buy something cheaper at a thrift store.
What do you think? Pretty cute, huh?

Sorry for the bad light. The kitchen only gets diffuse light in the winter, apparently!
I'm linking up to Christina's Adventures' 20 Below Thursday. Stop by and check out all the great under-$20 projects!

I'm also linking up to At the Picket Fence's Inspiration Friday party. Come and get inspired by everyone's creativity!


7 comments:
I love this!! It turned out beautifully! I attempted a smaller version of this last year and I failed miserably haha. I think if I had a sweet grid and rotary cutter it might have turned out a little better :) Yours looks perfect!
Thank you so much for linking to "20 Below Thursday"!! :)
Hi! I just found you through another blog and I'm so glad I did! I love all of your projects and would like to invite you to link up to our Inspiration Friday party going on right now. It is a great place to share your ideas and maybe even get some new inspiration! I'm following you now and hope you will stop by and visit us sometime! :-)
Vanessa
Thank you, Christina! I can't imagine doing it without the cutter and grid..even with it, I still had trouble making exact cuts (the swatches were thin enough that they would shift slightly when I applied pressure while cutting).
Vanessa -- thank you for the follow and the invitation to link up (which I happily took). I'm following you as well and am excited to check out everyone's inspirations!
Hi Mindy! This is Heather from At The Picket Fence. So glad you found us and linked this great project up to Inspiration Friday!
What a great idea! I love the colors you used, and the pop of orange really makes it! At The Picket Fence is following you now! Can't wait to see what other great projects you'll be working on! Hope to see you next Friday!
Heather @At The Picket Fence
Stopping by from Christina's Adventures... I love this idea, it looks great!
Mindy, I love this idea. So chic and thrifty!
Thanks all! Super cheap, easy and cute -- what's not to love?
Post a Comment